Vehicle stats
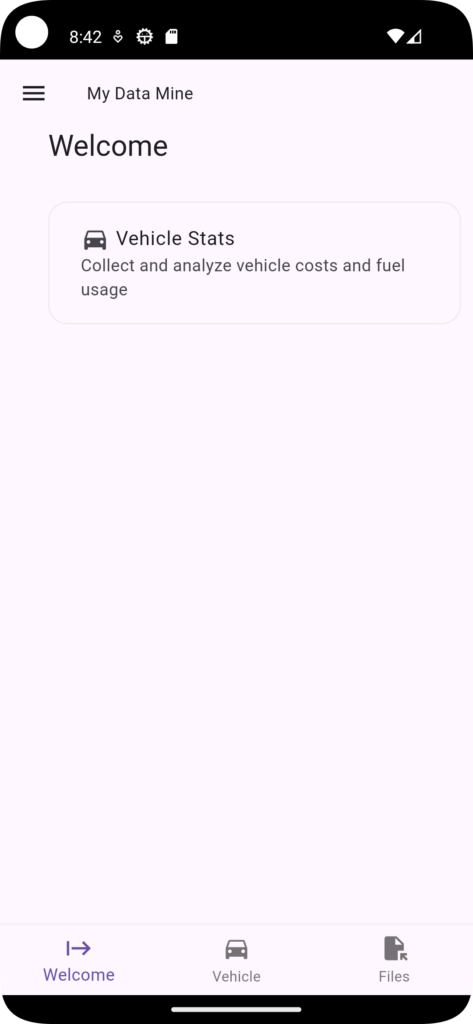
The welcome screen has only one option for now: Vehicle stats. You can also access the feature from the menu on the side.
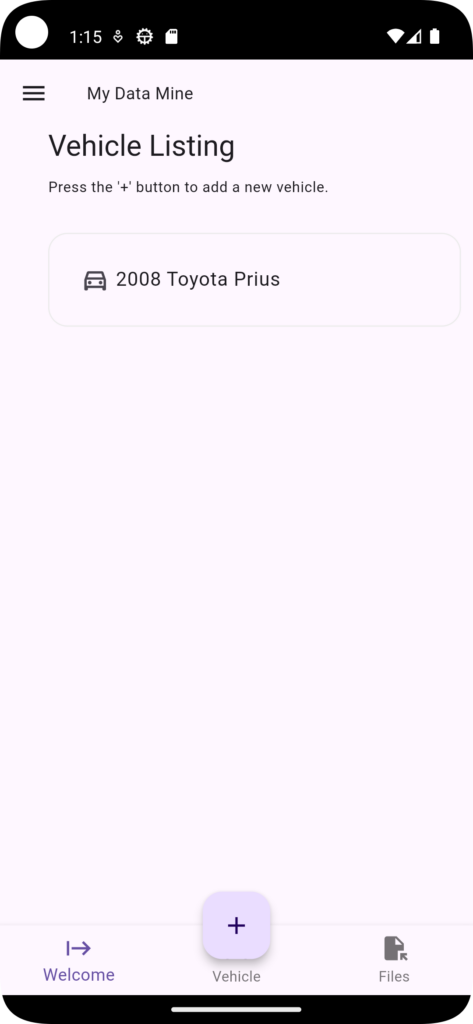
Selecting the Vehicle Stats option will bring you to the Vehicle listing screen. Here you can select any existing vehicles or add a new vehicle.
Adding a vehicle
From the Vehicle stats page, press the “+” button to add a new vehicle.
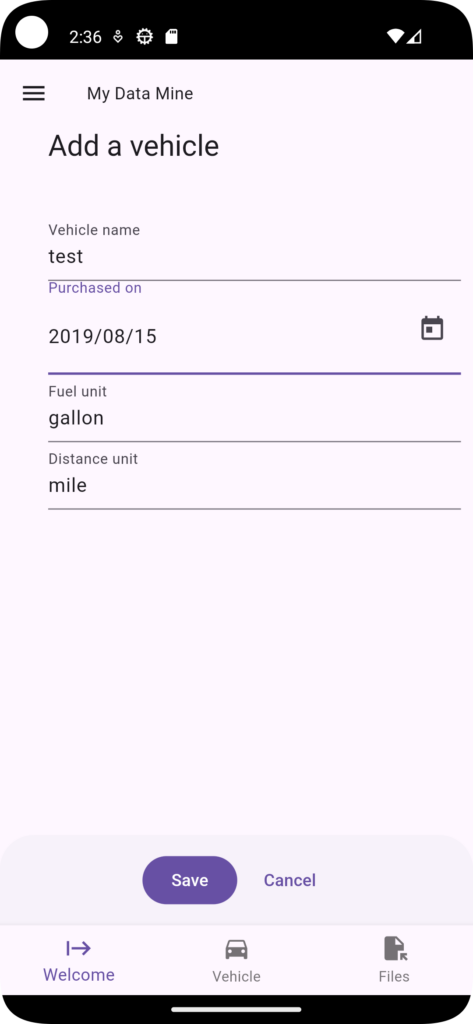
The app, as was mentioned earlier, is very simple. You can store your data in whatever units you want (miles, kilometers, gallons, liters, etc…). You will need to convert your values before entering them into the app.
When entering your vehicle, you can specify the “Fuel unit” which defaults to gallon and the “Distance unit” which defaults to mile. If you use other units of measure (e.g. kilometer) make sure to use the singular form of the word because the app will automatically append an “s” to the end of the word in cases where a plural is needed.
After you save your vehicle you will be placed on the vehicle management page.
Importing CSV Data
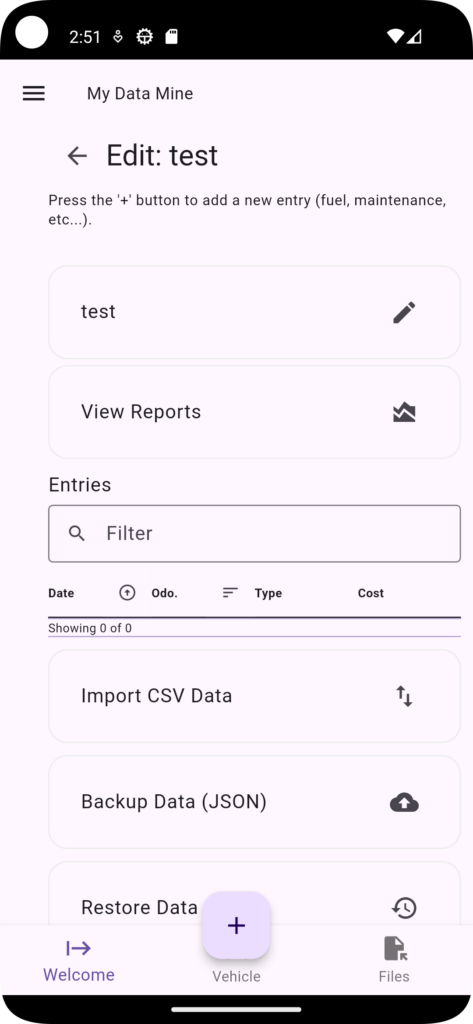
From the vehicle management page you have a number of options to choose from.
Have you already collected data for your vehicle? It is possible that you will be able to import that data into the app if you reformat your data to the specifications below.
Your CSV file should be formatted in the following way:
- The first row needs to have the column headers of: date, type, odometer, cost, quantity, comment
- The first row column headers can be in any order that you want (e.g. date can be the last column)
- The Date needs to be formatted in one of two ways, either “yyyy-mm-dd” which is Year – Month – day where September 24 2024 is represented by 2024-09-24 or “m/d/yyyy” which Month / Day / Year where September 24 2024 would look like 9/24/2024. It is necessary to have the year as a 4 digit value.
- The type column can only accept the following values: Initial Purchase, Fuel, Registration, Maintenance, Inspection, Insurance, Item Purchase
- The odometer, cost and quantity columns must only be numeric and must not include commas
- The comment column will become treated as text. If you have a comma in a comment, then make sure your CSV export is putting quotes around that text.
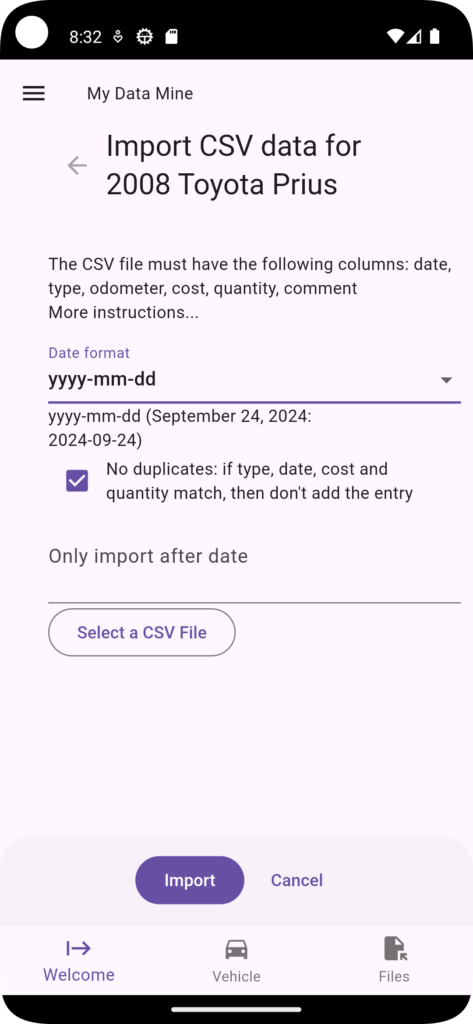
There are a couple of options for importing a CSV:
- Date format: see the information above about the two allowed format options and make sure your import setting matches your choice in the CSV file.
- No duplicates: If the type, date and cost already exist in the database when importing, then the app will assume it is a duplicate entry and skip adding it.
- Only Import after date: You can control which date you want to start your import at. The other option is to remove the data you don’t want to import from your CSV.
Select a CSV File: Before you can import you need to select the file. It is assumed that your CSV is already on the device somewhere, either you downloaded to a publicly accessible location on the device (e.g. the Downloads folder) or it is accessible via an app that works using the standard file picker (e.g. Google Drive).
Once you select the file, press the “Import” button at the bottom. If the import is successful you will get a notification at the top of the screen indicating how many rows were imported, updated, added and skipped. Press “OK” and go back to the vehicle management screen to see the results.
If there is an error during import (e.g. you selected the wrong date format) you will get an error message at the top of the screen giving the details. For example, if there was a problem parsing a line of data, the error message will include which row of data had the problem. Correct the data and select the updated CSV with the correction and try again.
Editing or Deleting your vehicle
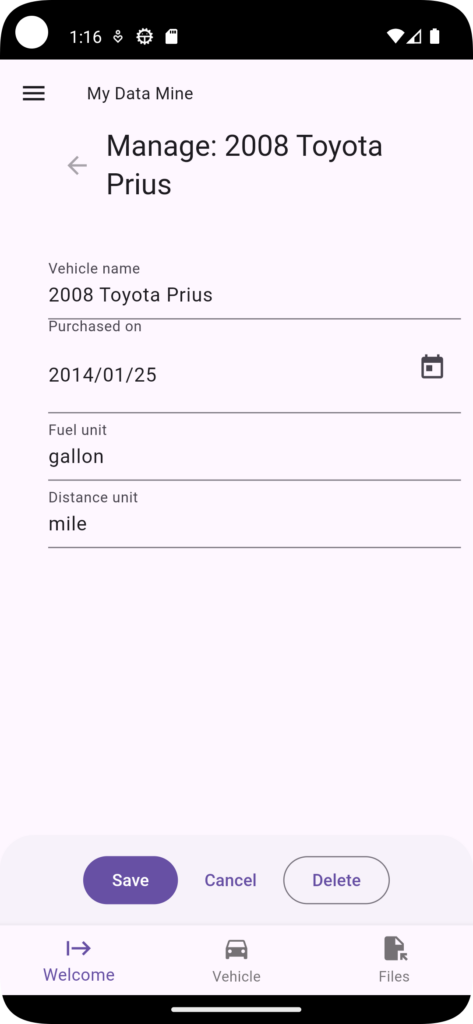
You can always go back and edit the details of your vehicle: Name, Purchase date, Fuel unit or Distance unit.
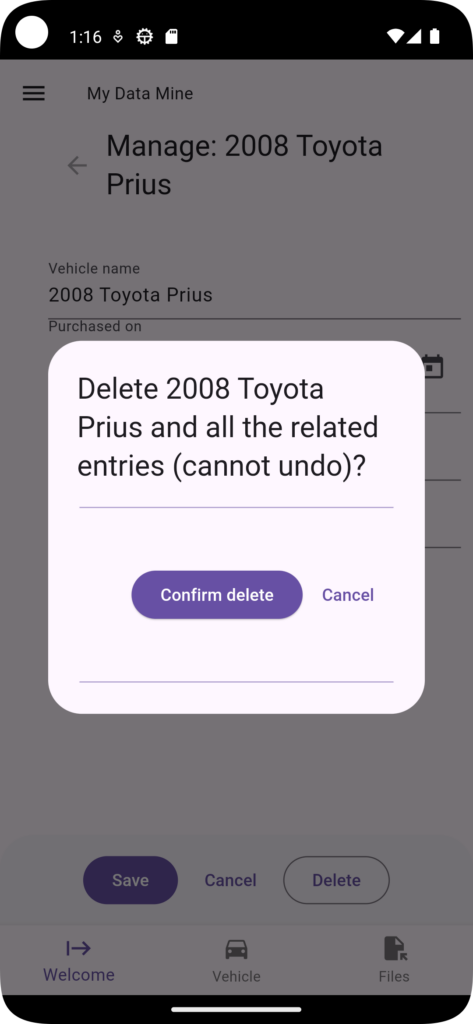
If you want to remove a vehicle from your app, you can press “Delete”. You will be presented with a confirmation dialog which you have to confirm. Deleting a vehicle will delete all the related entries. It is a wise thing to backup your data before deleting!
Adding entries
There are different kinds of entries you can create: Fuel, Registration, Maintenance, Inspection, Insurance, Item Purchase and Initial Purchase.
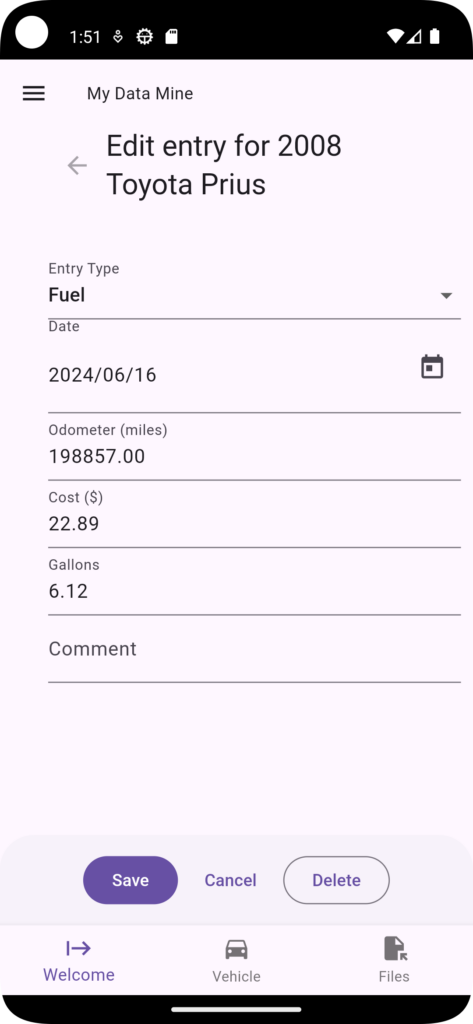
To add a new entry, you need to be on the Vehicle management screen (the main screen for a vehicle) and then press the “+” (add) button located at the bottom of the screen. This will bring you to a screen to add a new entry.
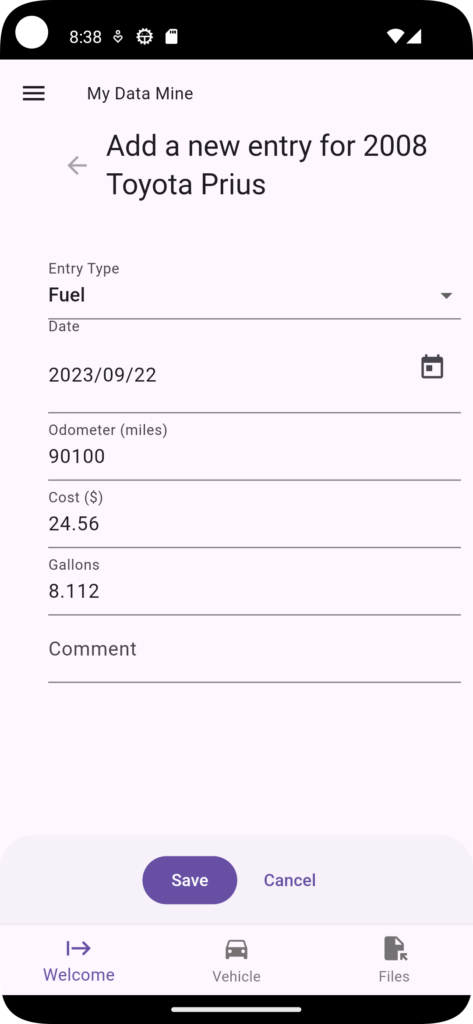
All entry types share a lot in common:
- Entry type: either Fuel, Registration, Maintenance, Inspection, Insurance, Item Purchase and Initial Purchase.
- Date: When the activity happened
- Odometer: The odometer value when the activity happened. In most cases, the odometer value is somewhat arbitrary and it is used for sorting, but for Fuel entries, the odometer is very important because it is used for fuel economy calculations. I recommend that when you don’t remember the exact odometer value, then take a guess at what it likely was. Your fuel economy calculations will not be accurate in the short term, but it will likely average out well enough over the long term.
- Cost: … how much the entry cost.
- Quantity: For the fuel entry, it changes the label to “Gallons” (or Liters or whatever you used for the Fuel units). For some entries, like Registration, there is no Quantity, so it won’t show it.
- Comment: A text description of the entry. If you know you want to find particular entries in the future, then you can add a keyword to your comment which will make it easier to find when you search.
When you finish, press the “Save” button at the bottom and you will be directed back to the vehicle management screen where you can see the new entry at the top.
Finding an entry
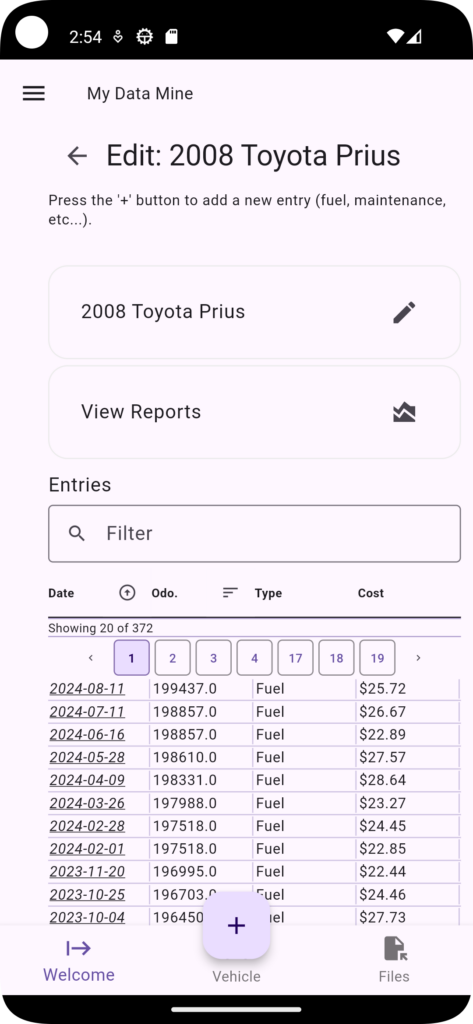
You can find entries using the “Filter” text box above the table of entries.
When you search, the app will filter using the Type and Comment fields. If you know before hand that you will likely want to quickly find certain entries in the future then you can put keywords in the comments of entries to help do that in the future.
Highlighted entries
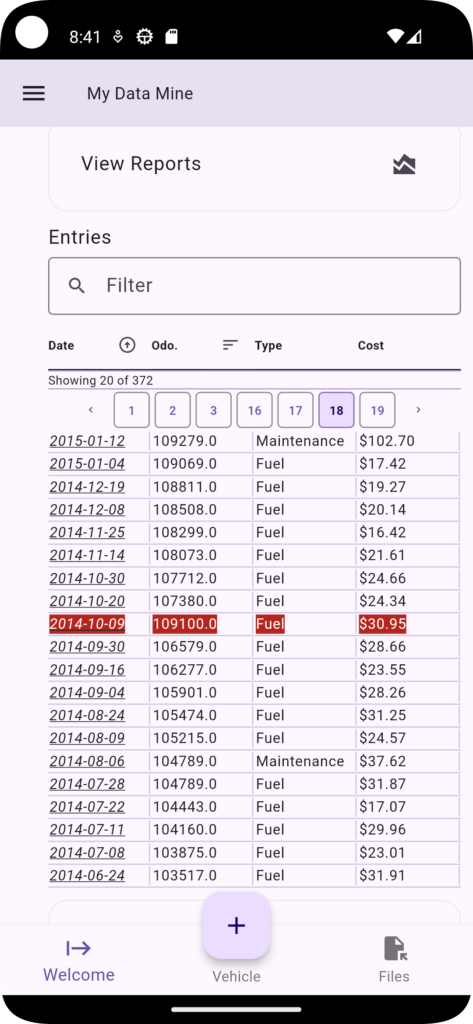
The app expects your data to be entered in order where the odometer reading is always increasing over time. If you make an entry where the entry before it has an odometer reading that is greater than the current entry, the app will flag it. This kind of data will mess with the report calculations.
Entries are highlighted so that you can see where the app has noticed a problem, but it might not be the record itself that needs to be fixed. It is possible that a record either before or after the error row is the real entry to fix.
Editing/Deleting entries
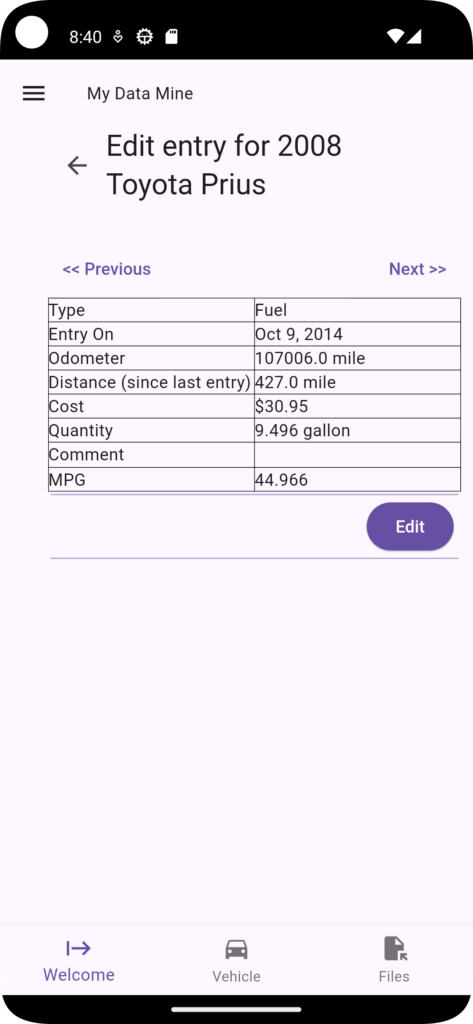
To edit an entry, tap the date value of the entry in the entries listing. This will open a screen with the entry and a table of values for the entry. For fuel entries, it will also show a MPG row indicating the calculated miles per gallon for that fill up. Note: your miles per gallon for any given tank might not reflect the actual fuel economy that your car is getting since it depends a lot on if you consistently fill your vehicle to the same level every time which is often not possible. While a specific entry might not have a very accurate MPG value, the overall fuel economy of your vehicle should be fairly accurate.
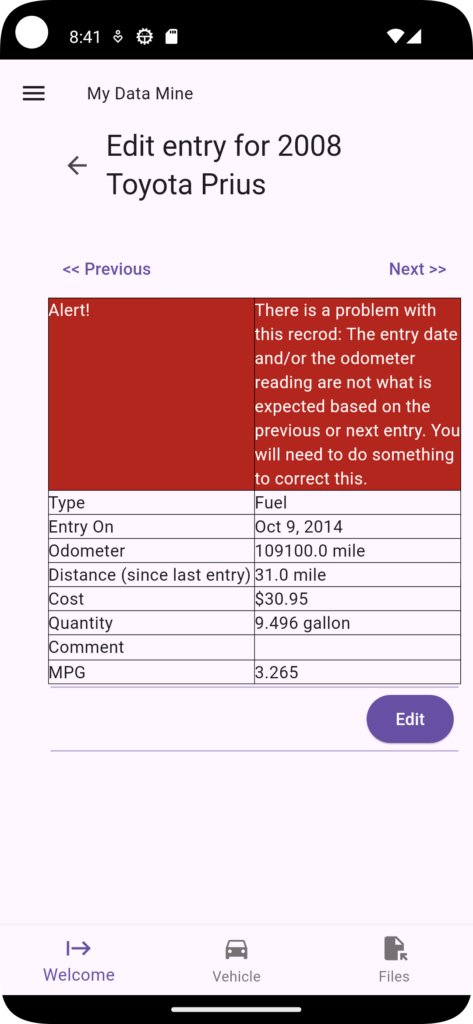
If there is an error with your entry, the app will display the error message on the first row of the table.
To edit a record… press the “Edit” button
The edit screen for an entry is very much like the screen for adding an entry except that the title is different and there is a delete button at the bottom.
If you press the “Delete” button you will get a confirmation dialog. And if you press the “Confirm delete” button, you will delete the entry.
Reports
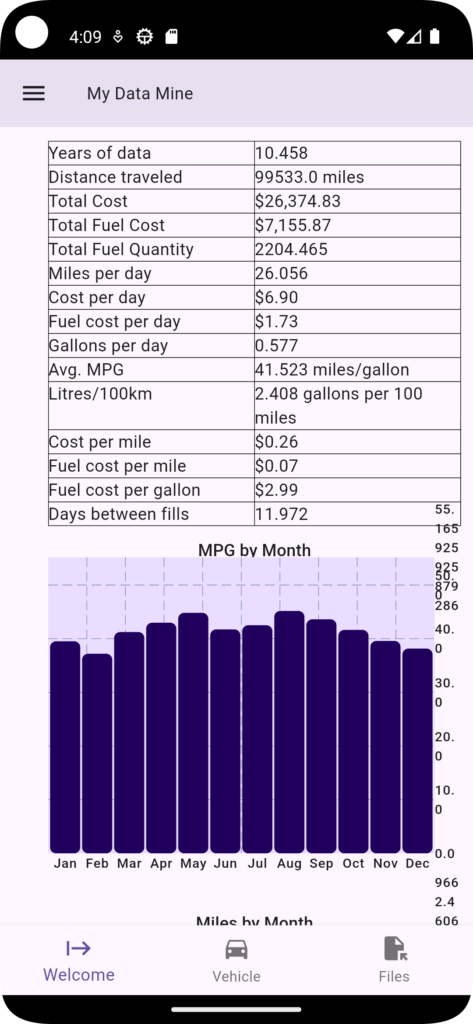
A big feature of the app is the reporting feature which generates a table of summary data and graphs that show data over time. I’m hoping the data and the graphs are self explanatory. Note that the MPG by month and Miles by month will be more useful when you own your vehicle for more than one year.
All graphs and stats are calculated when the report screen is loaded. If you have a lot of data you will notice a pause while loading.
Backup your data
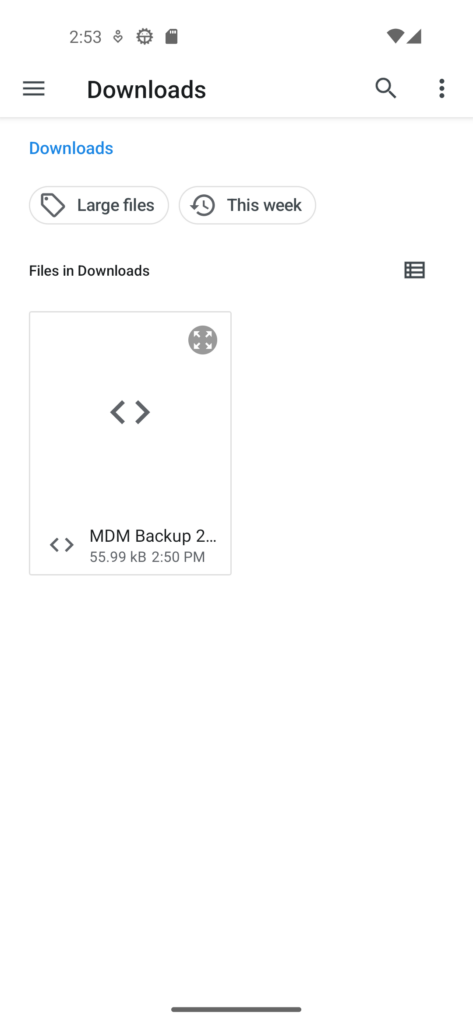
To save your data outside the app, you use the backup feature. Once your data is backed up, you can use the file manager (Manage files) to move the data to another app on your device (e.g. Google Drive) so that you can move your data off of your device.
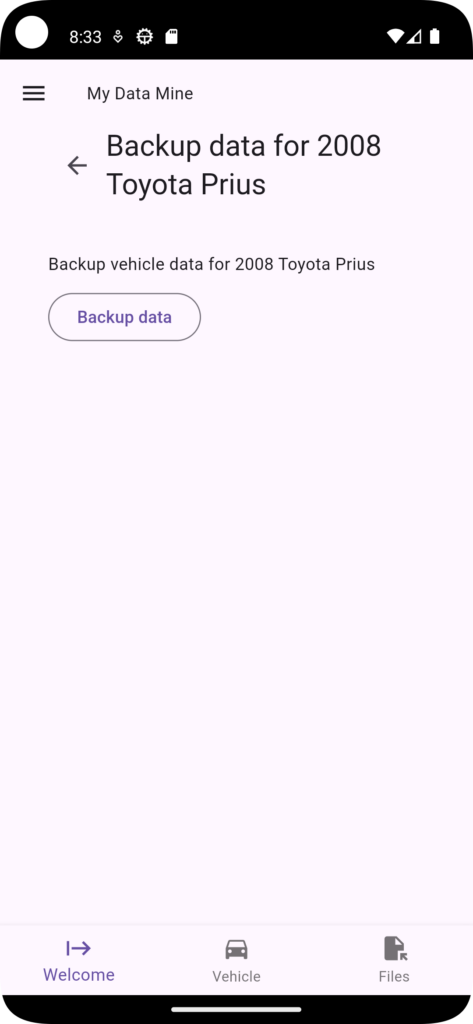
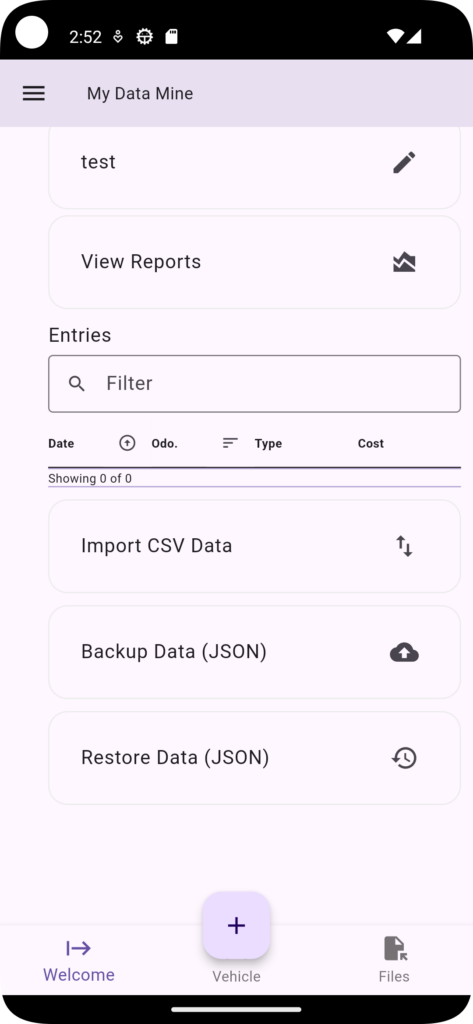
The backup feature can be accessed from a vehicle’s management screen by pressing the “Backup Data (JSON)” button located at the bottom of the screen. You will need to scroll down if you have a lot of data or a small screen.
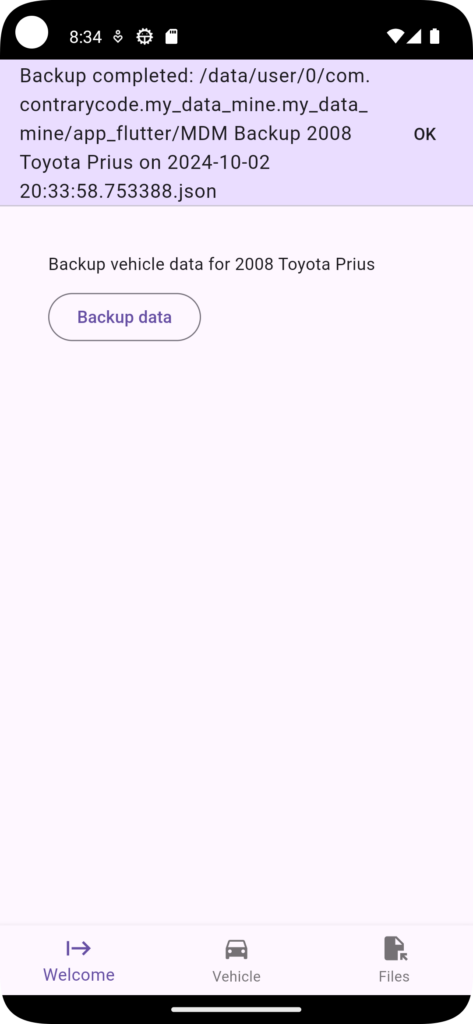
Press the “Backup data” button to make a backup. The file will store the data within the applications documents directory using a calculated file name that includes the date and time when the backup is created. This is to ensure that each backup file will have a unique name and it will be easier for you to track when a backup was made in cases when you have multiple backups.
The backups are text files using a format called JSON. This format is not suitable for CSV import, but it is quite useful for any programmers who know how to use a programming langue to modify or process the data.
Restore your data
You can restore the data you backup. This is useful if you buy a new phone or tablet and you want to copy your data to the new device.
To restore data, you need to create a new vehicle and do not add any entries to it. As soon as you add an entry to a vehicle you lose the ability to restore data to that vehicle. It does not matter what you name your vehicle because the restore process will overwrite all your existing data anyway.
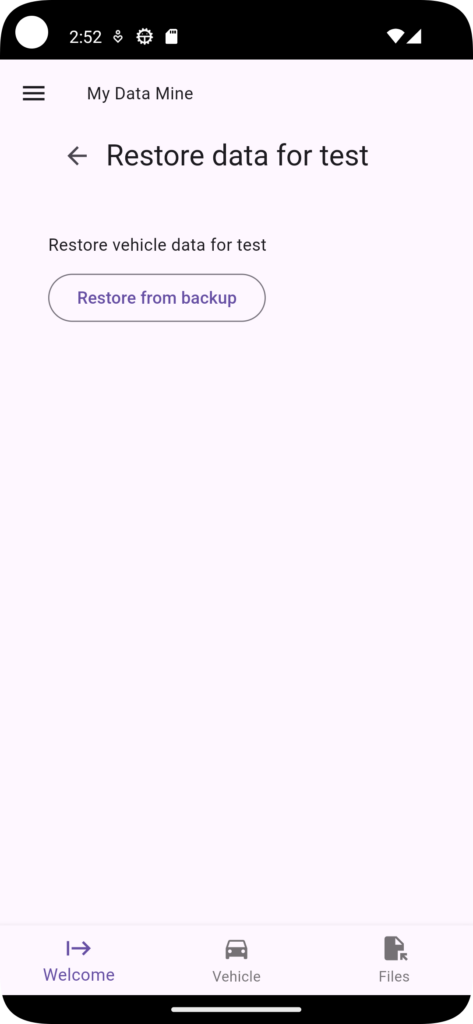
If you scroll to the bottom you will see the “Restore Data (JSON)” button. Press this to start the restore process.
Before you begin the restore process your data should be somewhere on your device. If you backed up your data on the device and you are restoring it locally, then the file will show up. Otherwise you will need to move the file to your device, either by downloading it to the Downloads folder or some other publicly accessible location on your device or via an app on your device that allows the file picker to access files (e.g. Google Drive).
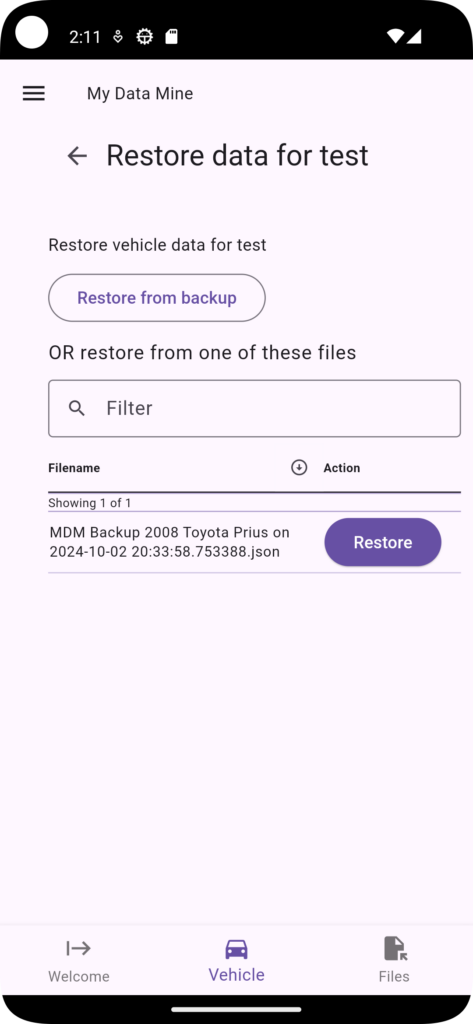
If the backup file is local (created by the app and stored within the app’s own documents folder) you will see it listed on the Restore screen. To restore a locally created backup, press the “Restore” button next to the file you want to restore.
If the file is stored elsewhere on the device, press the “Restore from backup” button and this will open the file picker and it will allow you to navigate the device for the backup file.
Once the backup file is selected, you will get a “Processing” screen as the app loads the data into the current vehicle. Once the restore is completed, you will be redirected to the vehicle’s management screen.
Managing Files
See: managing files.